
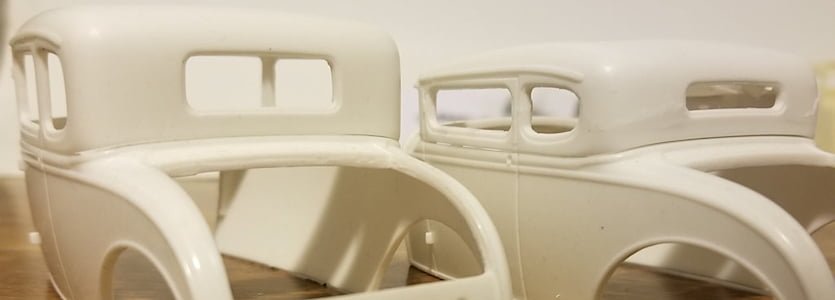
Revell 30 Model A Top Chop


30 Ford Model A Roof Top
Chopped Height: 0
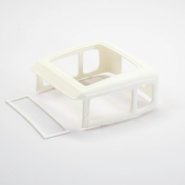
30 Ford Model A Roof Top
Chopped Height: 1.5

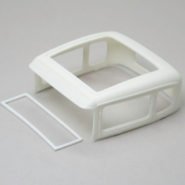
30 Ford Model A Roof Top
Chopped Height: 6.5

One comment
David Peralez
I am trying to resin cast a model car. My issue is finding the resin. Everyone has clear resin for table pours. Can you please give me a source for ordering the resin. Thank you.