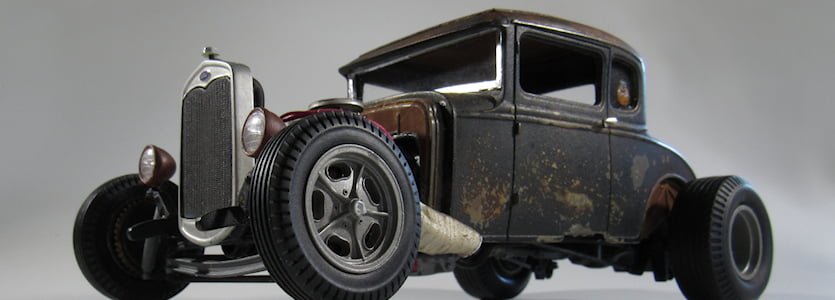
My 30 Ford Hemi Rat from the Revell '30 Model A
This 1/25 resin 30 Ford Hemi Rat construction, utilizing the Revell ’30 Model A, has been on my to-do list for quite some time. I realized that it wouldn’t be built by itself, therefore I only needed to take the first step. I didn’t acquire the ’30 Model A kit until it was discontinued and costs skyrocketed. I eventually found one for$75, which was the most I’d ever paid for a kit. This meant that instead of building it once and hoping I didn’t mess it up, I’d have to construct molds to cast whatever I used from it in resin.
Building the master
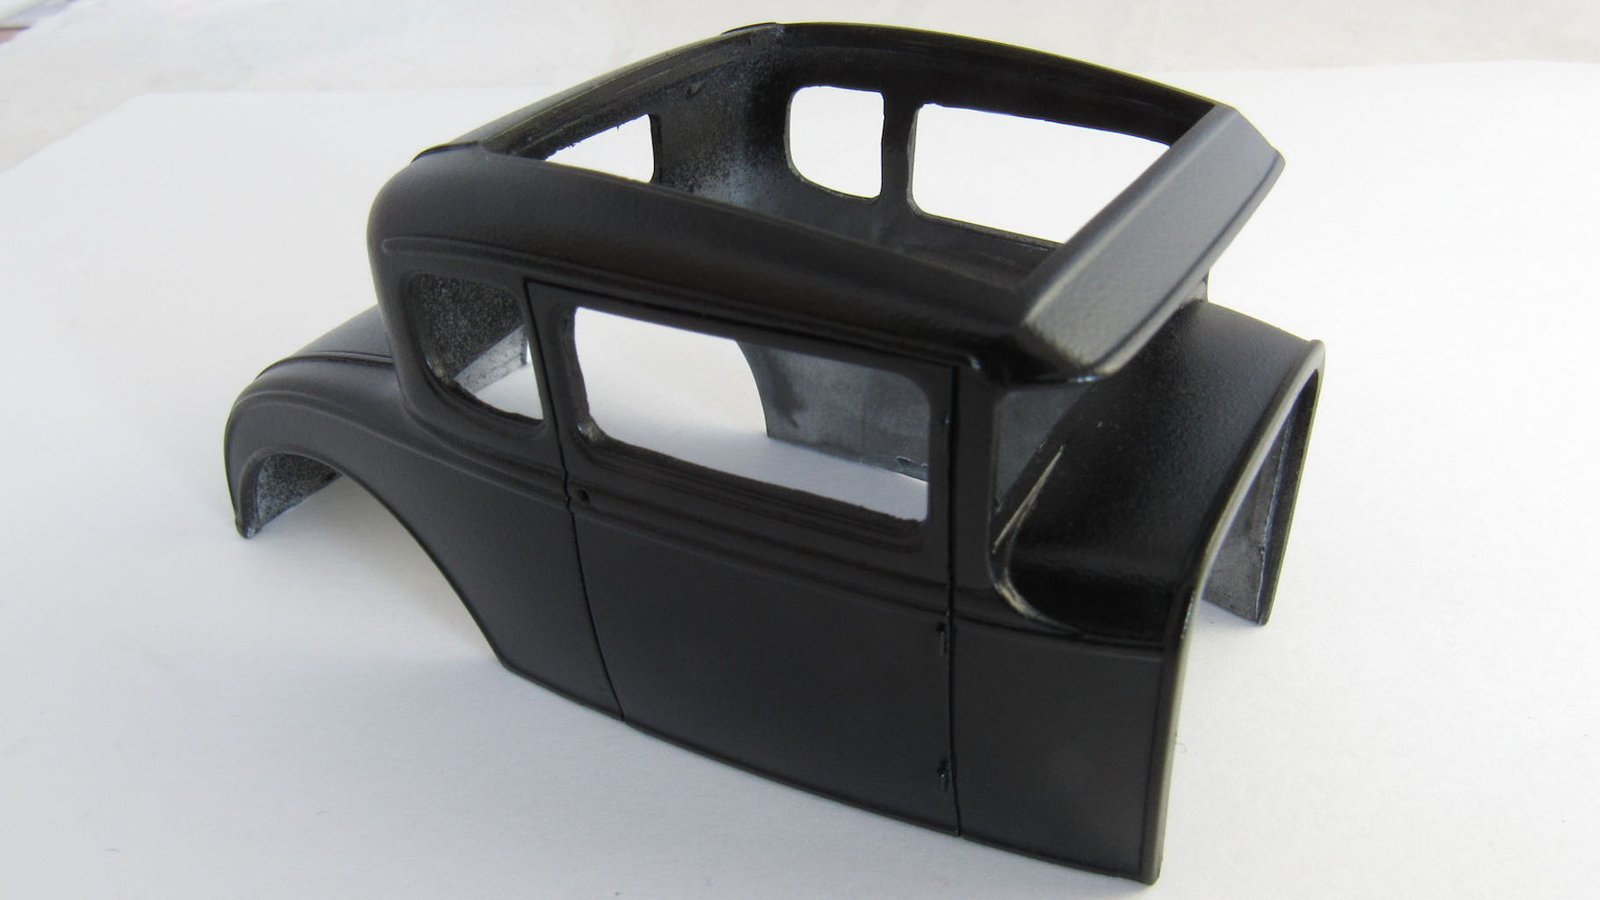
The body was the first stage; I’ve seen some builds with an unsightly seam showing where the roof was attached to the body. I opted to put these together first so that I could finish the seam with plastic and liquid glue. The seams on the roof and the filling of the taillight openings are among the additional features I added. I also extend the opening for the roof panel forward, as it does on the full-size body. The body wasn’t too tough to make, but getting the insert to fit was challenging. It used the same design as before with a lip around the outside edge to keep it in place on the body.
Giving it a “weathered look”
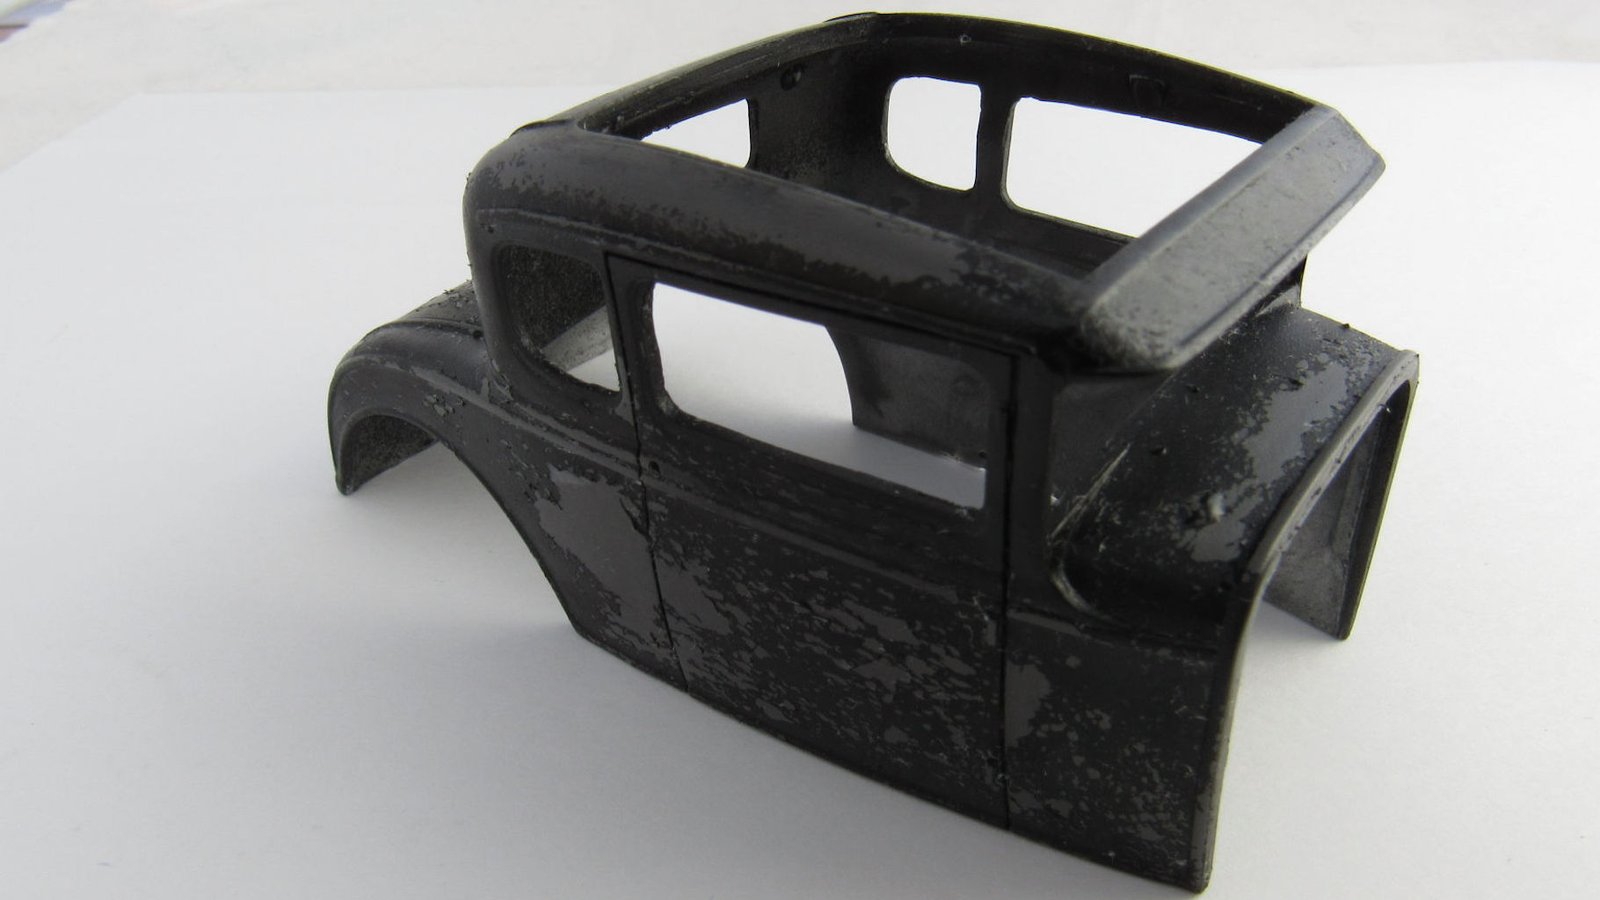
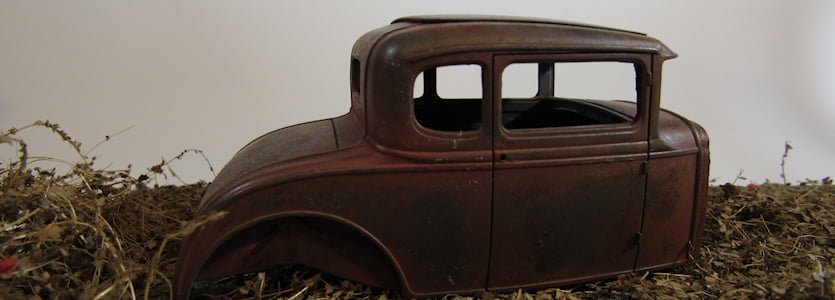
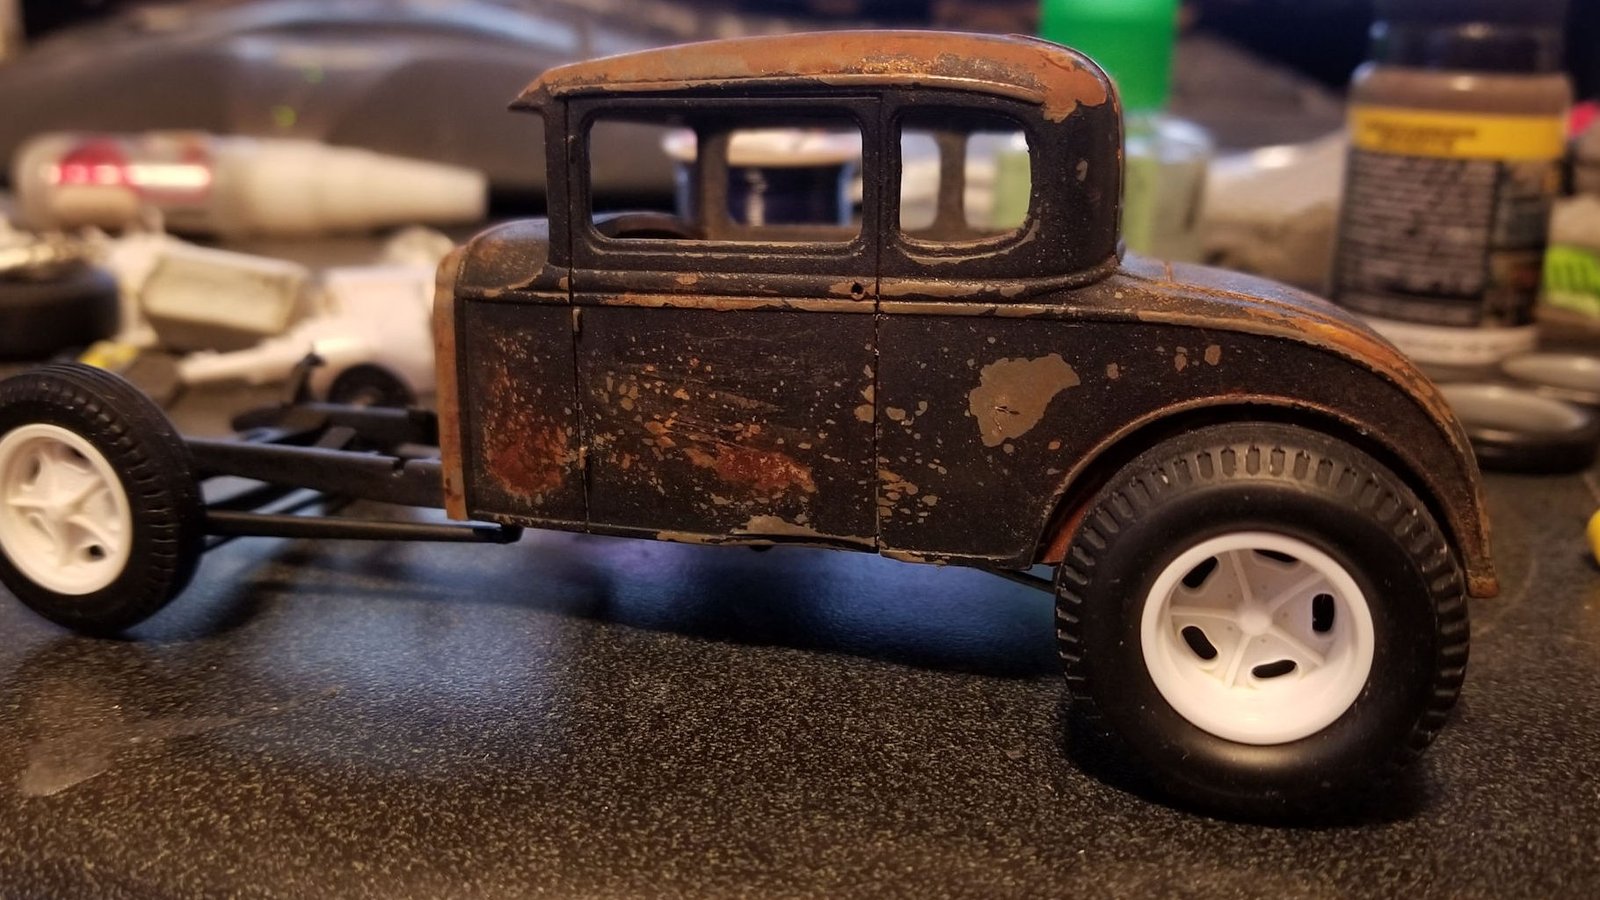
The first and most important aspect of building this as a rat rod was realistically rusting the body. After creating a mold from the modified kit body, I was able to experiment with how I would go about detailing rust on a body. This was accomplished by the use of a technique known as cold-casting, in which the mold is coated with iron powder before the resin is poured into the mold, adhering the iron to the body. The next stage was to spray paint the body and then rub the paint to give it a distressed effect while keeping open sections of the iron surface exposed. To speed up the rusting of the iron, the body was then soaked with white vinegar and placed in a sealed plastic container.
Get a closer look at creating an authentic rusty finish with iron-coated resin. Click on the thumbnail.
Setting up suspension
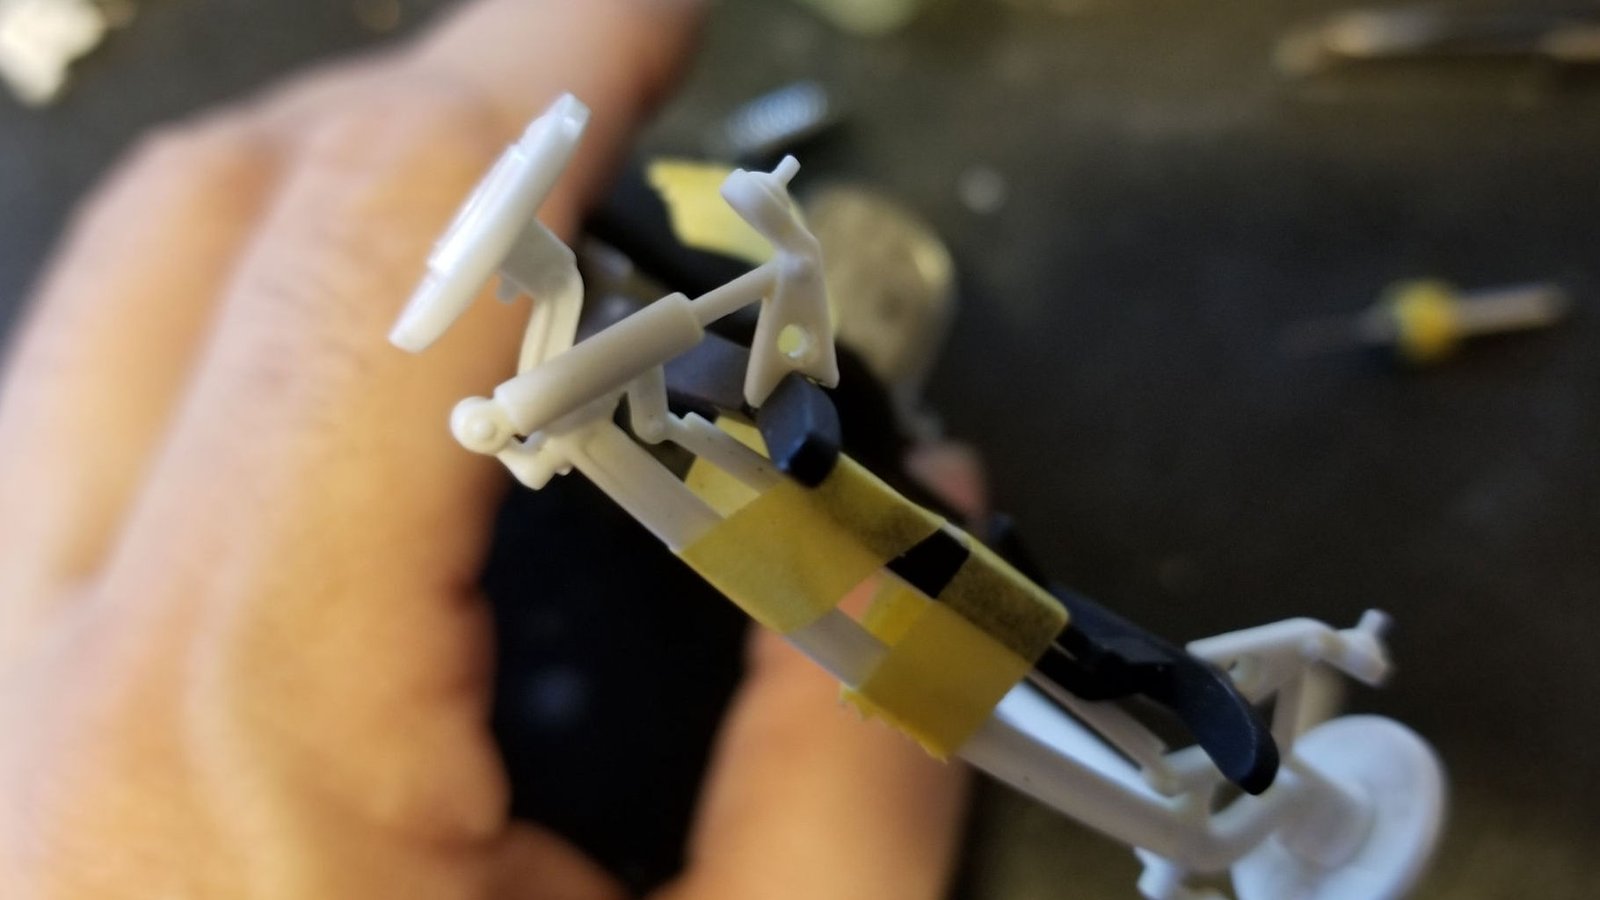
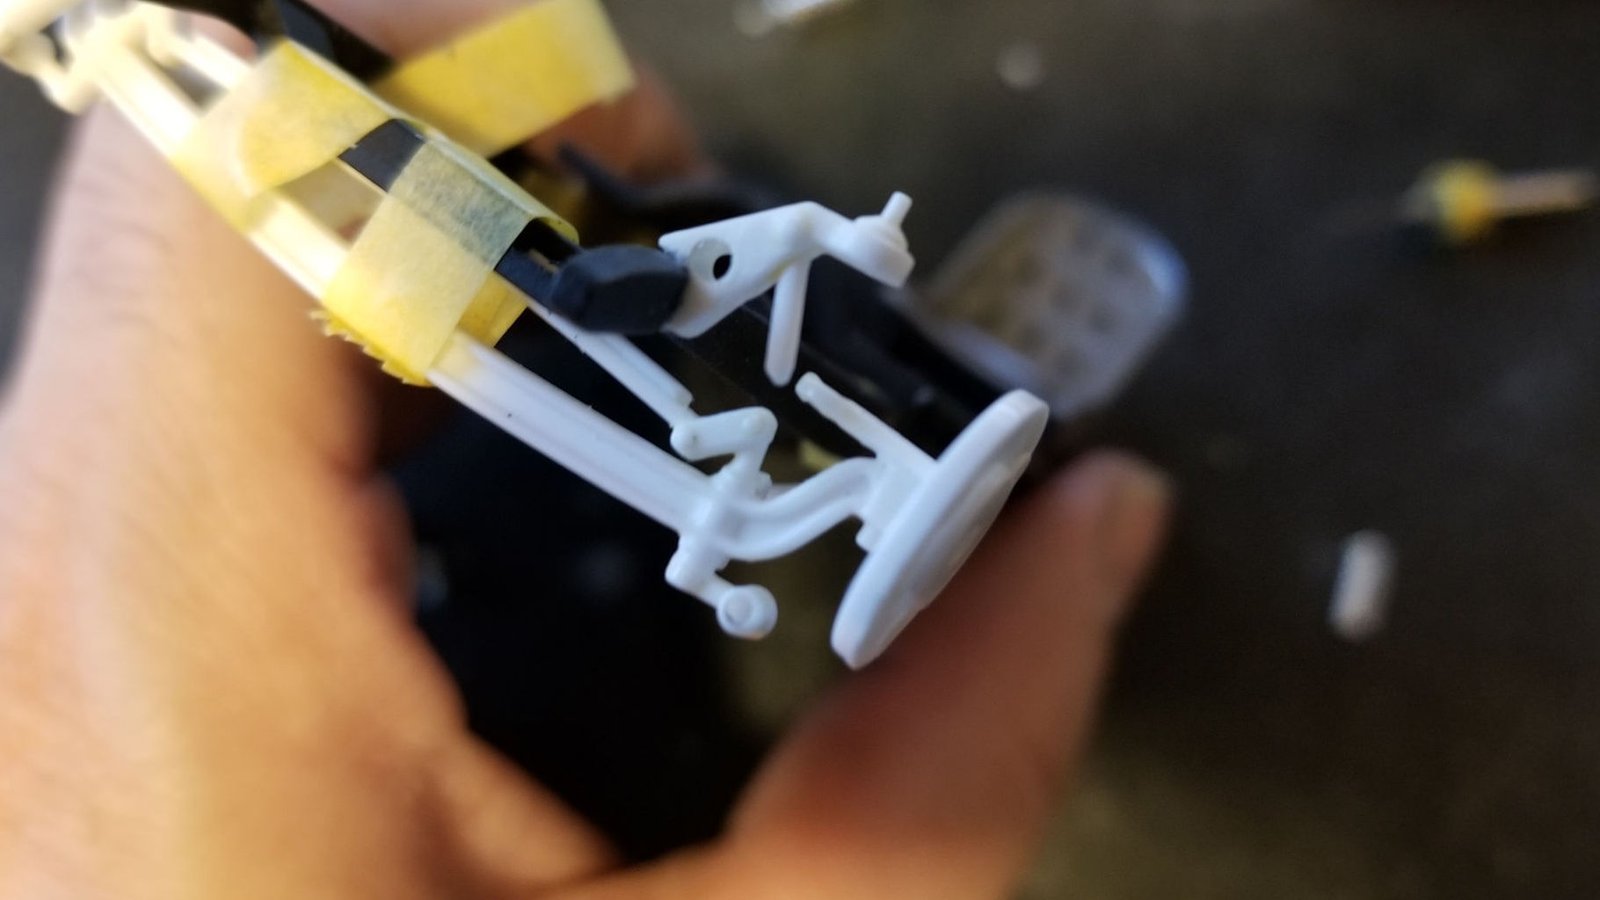
Got the suspension figured out and decided to use the kit plastic from the 1929 Ford Roadster since it was more readily accessible at the time and producing resin duplicates didn’t seem like it would be worthwhile. When I originally mocked up the front suspension, I determined that the front could be slightly lower for this overall build style. To drop the front, the leaf spring attachment tab to the frame was eliminated, and the frame side channeled to lower the axle sufficiently. To accommodate the new lower front, the shocks would need to be shortened as they are molded to the upper frame mount. I had the brilliant idea of separating the shaft from the shock body, allowing me to drill into the shock body and enable the shafts to slide down into the shocks as far as they needed to. The rear suspension height would be retained as-is even if the tabs the axle rides on might have been adjusted as the model would benefit from the strength these tabs give when handling the model.
The standard coil-overs looked awful, and because they could be seen from the back, I thought that any help in the details area would be beneficial for them. I eventually made the decision to remove the center coils and only utilize the ends, gluing a section of 223 round tubing to the interior of one end and a length of 220-.035″ rod to the other. Following that, using colored 30AWG wire wrapped around a larger rod so that the coil has the same outer diameter as the spring seat cup ends. Finally, I cut the wire and filed the ends flat, much as a true coil-over shock would be. Once both ends were flattened, the wire was pulled apart to provide the appearance of a spring; also, because of the particular way this coil-over was constructed, they are adjustable as necessary.
Starting the interior
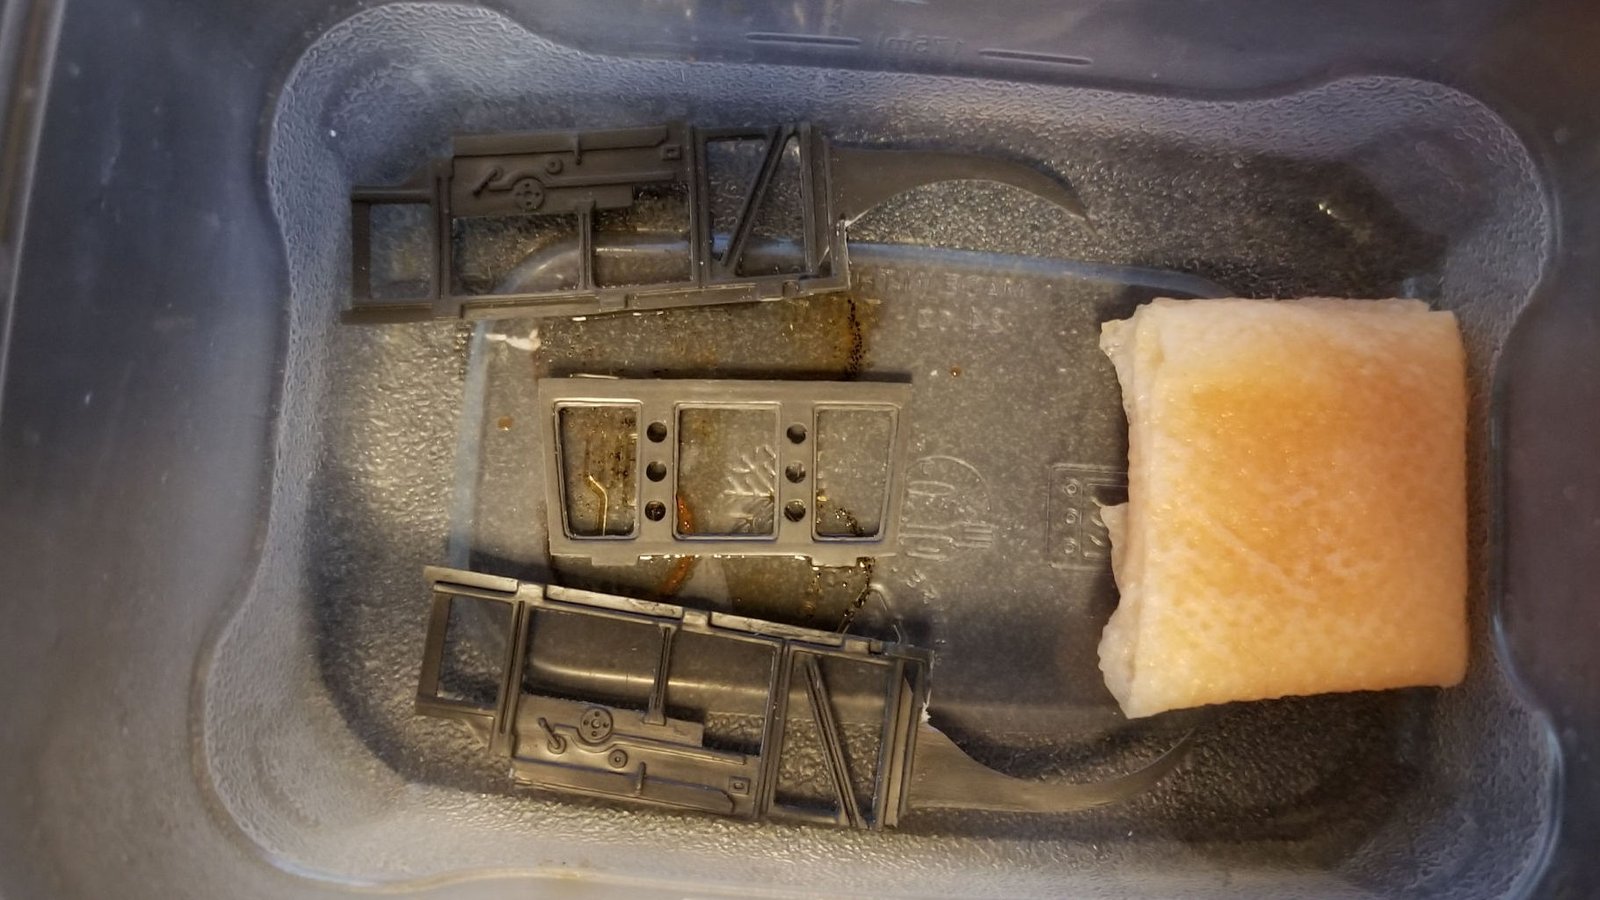
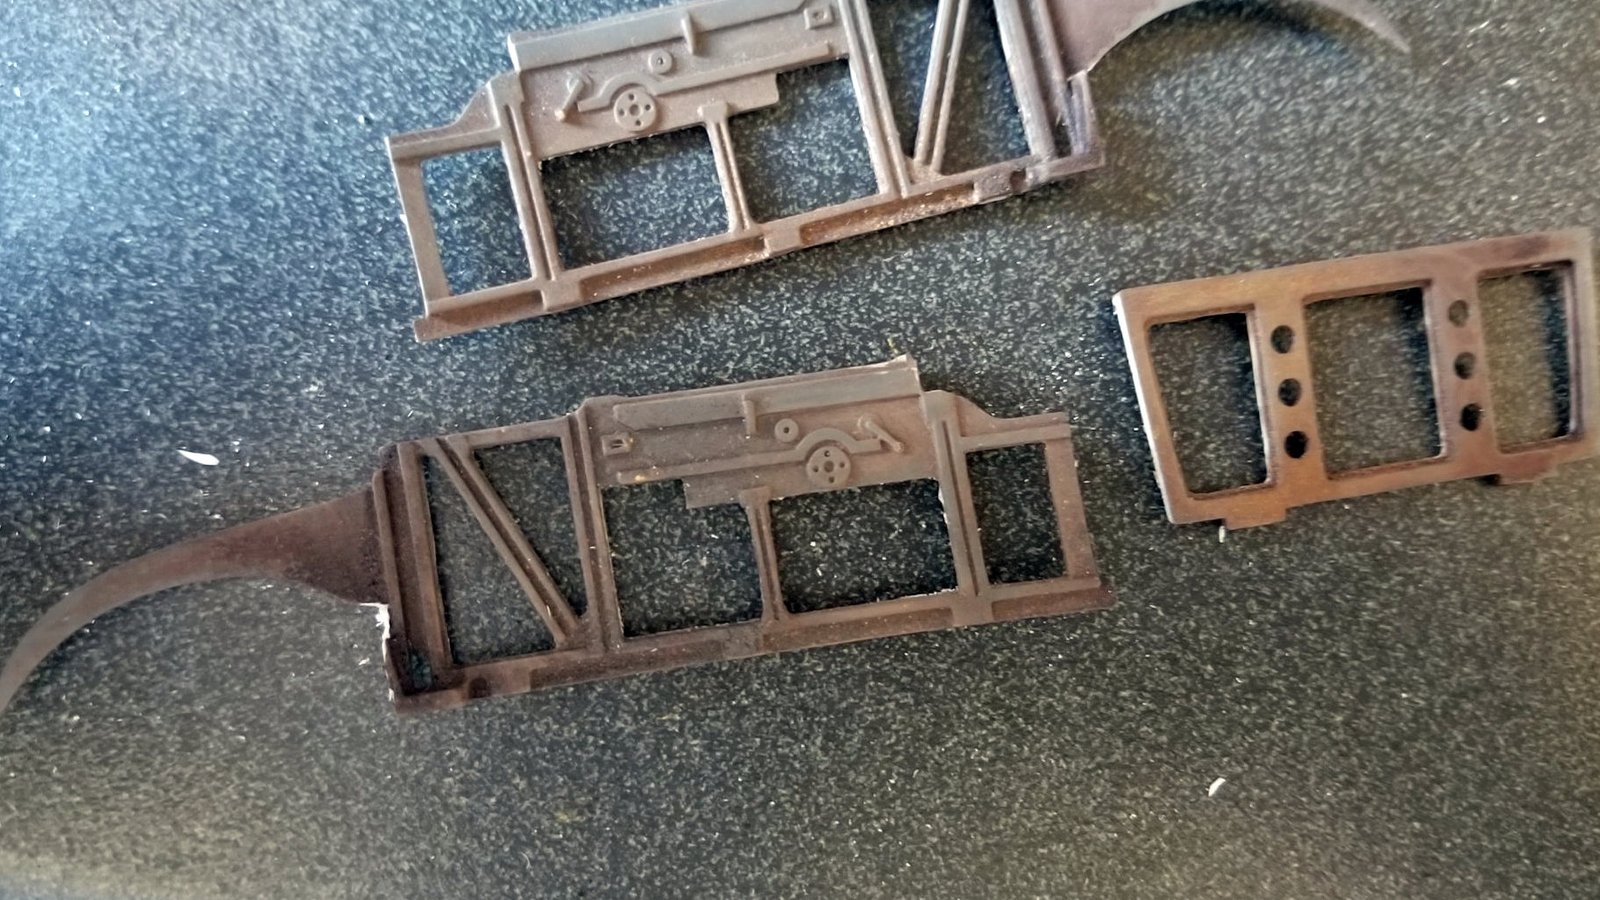
The kit’s open-style interior panels are a clear rat rod choice, but in order to save the kit pieces from being expended, they would need to be cast. One advantage would be that they could then be cold-cast in iron, allowing them to be rusted. In this view, you can see how they have to be modified to function with the separate inner wheel well panel.
Choosing a grill
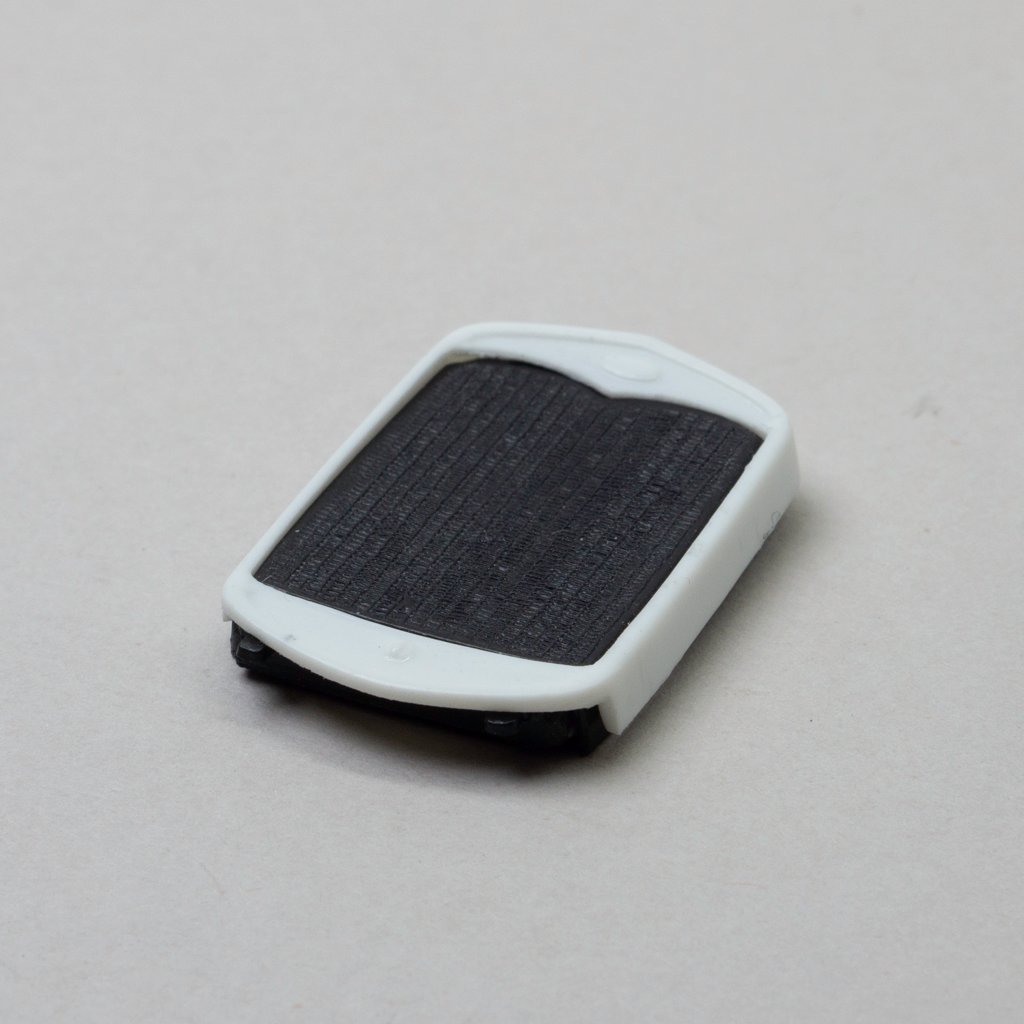
When it came time to select the grill to use I didn’t want to go with the typical choice of a 32 type. So, when looking for the best-detailed 30 grille, I discovered a two-piece one; however, the radiator required some modification to match this Revell 30 chassis. Although I did find a few to choose from, the grille surround is from a vintage kit, and for the purpose of repeatability, they also ended up being resin cast.
Picking the wheels
The wheels I chose are part of a Revell Rat Roaster kit, which were identified as ET Dragmaster. The wheels on a project have a significant impact on its appearance, and these looked like an excellent option for both the traditional aesthetic and the rarity of the kit’s availability. Due of the difficulty in obtaining that kit, they would also have their chrome stripped and properly cleaned before being resin cast. This would present me with the opportunity to create a set using a blend of silver powder to use for cold-casting the finish as clean and sharp as possible. The full size versions are polished on the sides; I’m not sure I’ll worry about it for this model, but I might attempt bare metal foil eventually because, even if the casting is made with genuine aluminum, it won’t shine like that. Since casting tires were still unsuccessful at the time of this build, I opted to use the precious original kit tires.
Building the engine
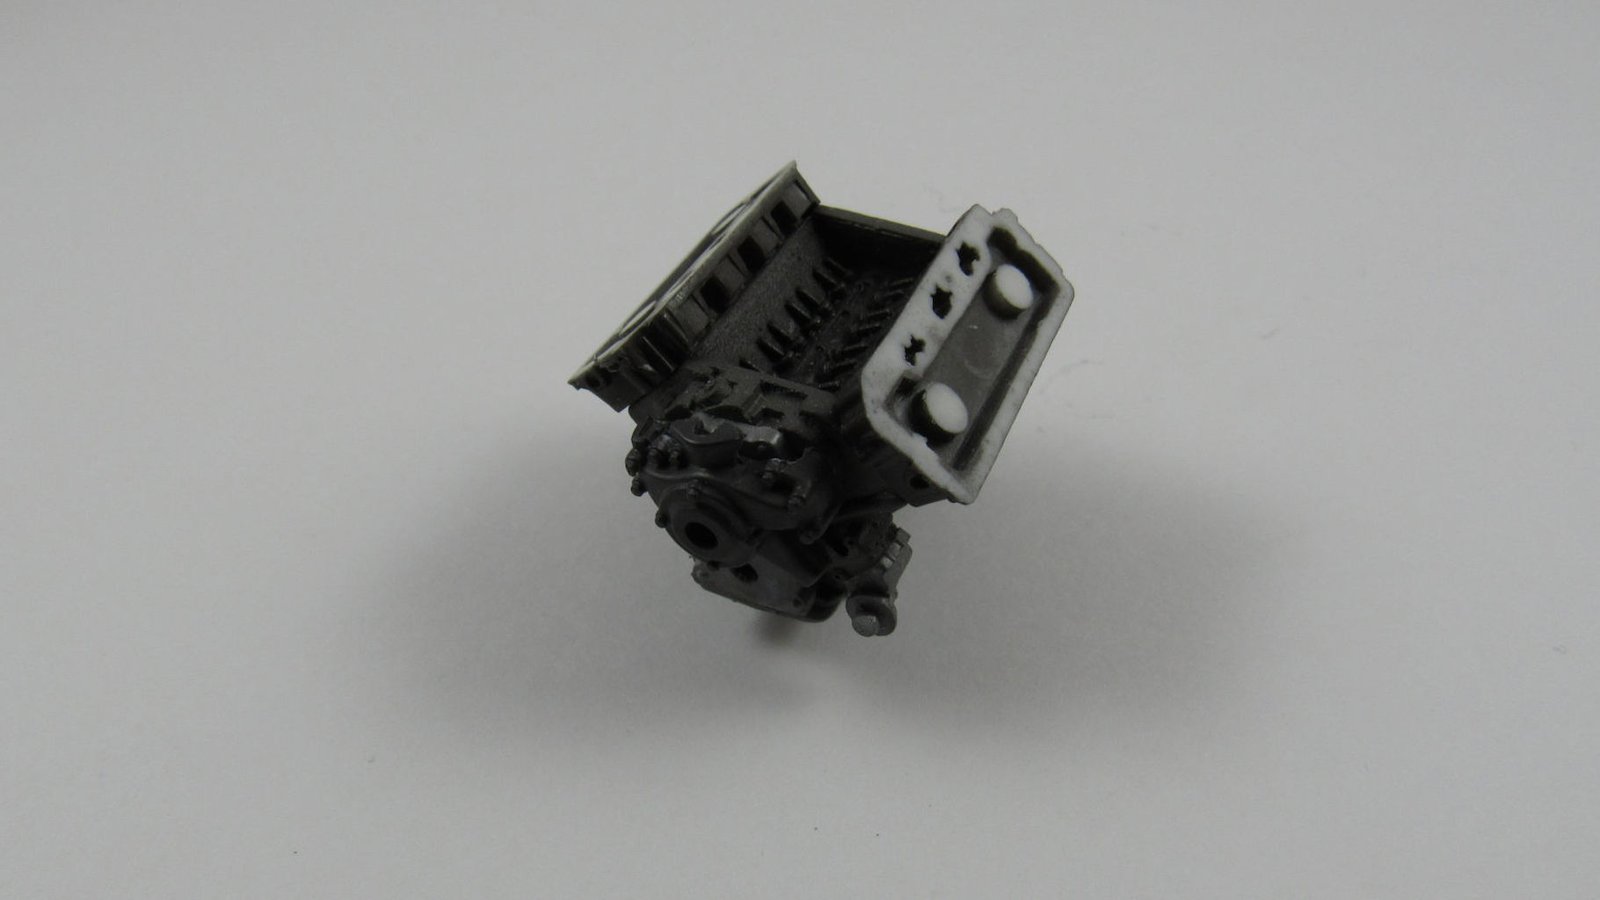
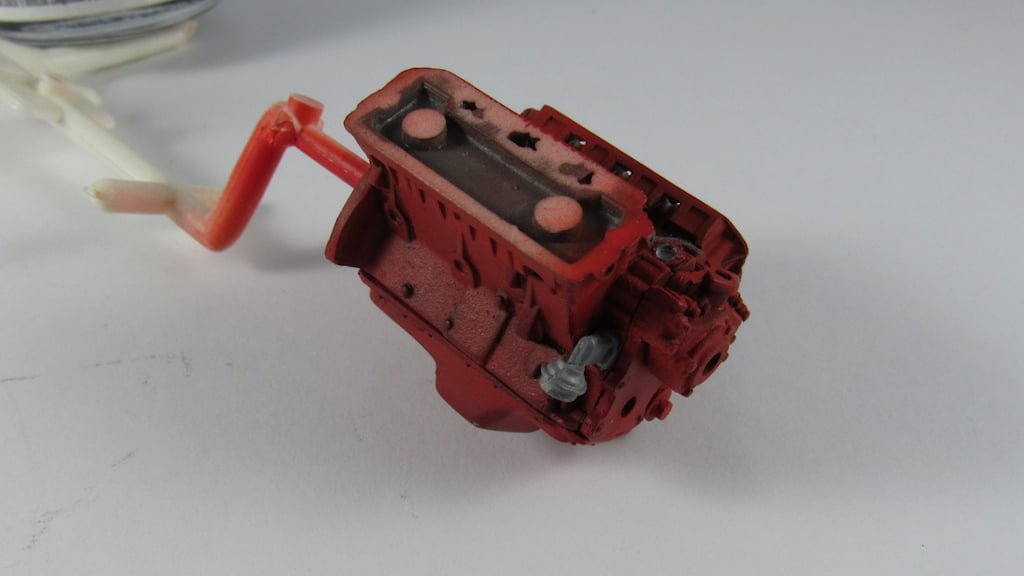
The engine would be a”426″ Hemi built from the most authentic and detailed components from various sources. Once the resin pieces were ready, I may have embarked on an excessively ambitious project by casting the various engine parts in different types of metal coatings. The idea was for them to be visible through the engine’s orange paint in areas where it was thin or where there were scuffs and scratches. When the Hemi orange paint was sprayed on, it required many coats to get the brightness, so small patches at this size weren’t going to look correct. I even used iron powder on several engine parts to rust them in order to replicate surface corrosion as a genuine engine would. The detailing was done with a lot of blackwash because the factory engines appeared to be completely orange, leaving little opportunity for color to be added.
Detailing the engine
When it came time to start the distributor, I made sure to find 32g wire that was appropriate for the scale. In order to ensure a tight fit, the boots are cut into 1mm lengths from 3/64ths heat shrink tubing then heated over the plug wire. The cap came from an earlier generation of Johan Hemi engines, which had protruding posts that allowed me to put the heat-shrunk boot over the post. The outcome was substantially better than with previous wired distributors with larger wire insulation as plug boots that fit loosely over the plug wire. How short I can make this strategy so that it fits under a car with a factory hood will be the real test.
Interior needs seats
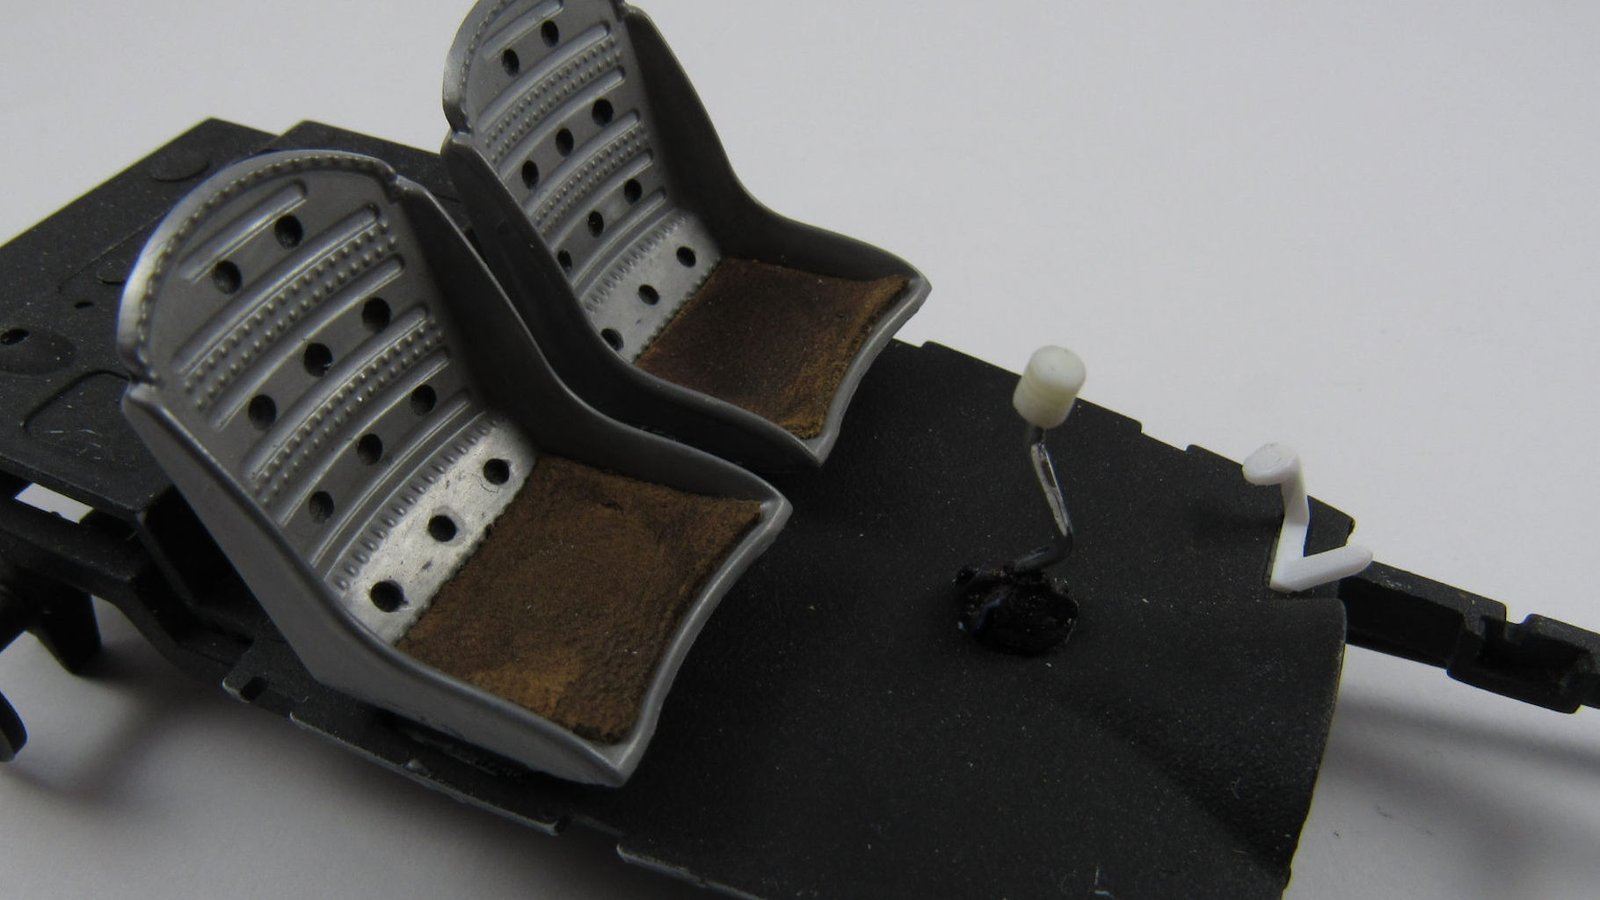
While not much changed with the body of the vehicle, seats and the gear shift were added inside. The shifter comes from a Revell 32 Ford and it features a piston-style shift knob that fits the rat rod theme. The shift knob was removed, and a tiny piece of rubber glove was cut and slid over the shaft to create a new boot. The knob was then simply drilled with a new hole to allow it to fit back onto the shaft.
The holes in the seats from the 1930 Ford were drilled deeper to create a sharper hole, which improved the appearance after blackwashing. Because these are resin cast, they received the aluminum cold-cast process, which was gently burnished to give them a nice metallic sheen. Since they would have had some form of cushioning in reality, I found some thin goat leather samples that were trimmed to fit on the bottom half, and they also received some blackwash in an effort to provide a worn appearance.















Leave a reply